Natural Sponges: Cleaning, Care & When to Replace
Share
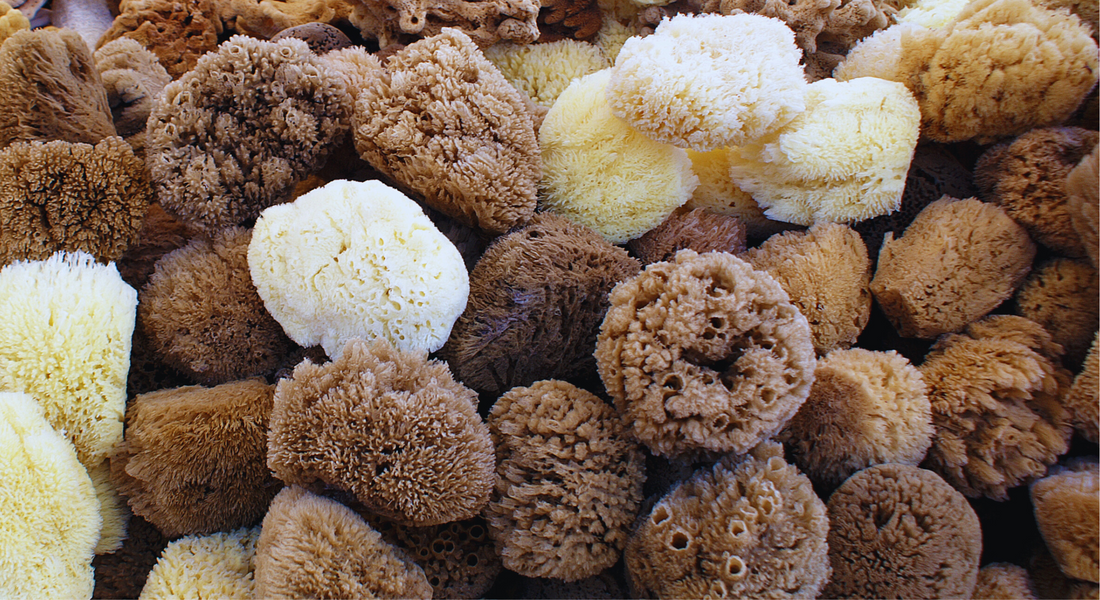
Natural bath sea sponges are a luxurious and eco-friendly addition to your bathing routine. Known for their soft texture and natural exfoliating properties, these sponges can last for many baths or showers with proper care. If you've ever wondered how to clean your sponge, how long it should last, how to care for it, and when to replace it, this article will guide you through the steps to clean and maintain your sponge, and how to know when it's time to compost or repurpose it.
Why Bath Sponges Have a Limited Lifespan
According to dermatologists, all bath sponges - natural and synthetic ones - need to be replaced frequently in order to maintain hygiene and prevent bacterial growth.
Natural sea sponges are biodegradable and made from organic materials, which means they’re susceptible to wear and tear over time. With daily use, they can accumulate soap residue, dead skin cells, and bacteria, which may degrade their structure and hygiene. Regular replacement is key, as moist sponges can harbor bacteria easily. This is why it's important to thoroughly rinse and dry your sponge between uses. Signs that it’s time to replace your sponge include bad odors, mold, or significant discoloration.
Quick Replacement Guide:
- Natural sea sponges: Replace every 3-4 weeks, or sooner if signs of wear appear.
- Luffas/loofahs: Clean weekly and replace every 3-4 weeks.
- Plastic mesh poufs: Replace every 2 months.
Note: sponges and luffas can last for much longer with proper care, but these are the generally agreed upon guidelines by dermatologists and professionals. If you choose to use your sponge or luffa for longer than these guidelines, simply make sure to clean and care for it properly, and watch for signs that it's time to compost your sponge.
Natural vs. Synthetic Bath Sponges
Natural bath sponges have several advantages over synthetic alternatives:
- Biodegradable: Natural sponges are eco-friendly and decompose naturally, reducing environmental impact. In contrast, plastic poufs are not recyclable and end up in landfills, where the micro-plastics break down, contaminating soil and water sources.
- Environmentally Friendly: Harvesting sea sponges supports sustainable marine practices, as sponges regenerate when responsibly collected.
- Gentler on Skin: They are softer and naturally hypoallergenic, making them suitable for sensitive skin.
- Chemical-Free: Unlike synthetic sponges, natural sponges contain no artificial dyes or chemicals.
- No Micro-Plastic Shedding: Plastic poufs shed micro-plastics onto your skin and down the drain, contaminating waterways and rivers.
In contrast, synthetic sponges (like plastic mesh poufs), may last slightly longer but they are not biodegradable, shed microplastics, contaminate soil and water sources, and contribute to plastic waste.
Step-by-Step Guide to Cleaning Your Sponge
1. Rinse After Each Use
After every bath or shower, thoroughly rinse your sponge. This removes soap residue, dead skin cells, and any other debris that may have collected during use. Squeezing the sponge gently under running water ensures it's clean and ready for the next use. NEVER twist, tug, or wring your sponge as this will break and tear the natural sponge fibers, causing it to fall apart faster. And, avoid using harsh soaps with your sponge as this can also weaken and damage the fibers (opt for natural soaps instead).
2. Periodic Baking Soda Soak
Every couple of weeks, you can deep clean your sponge by soaking it in a baking soda solution:
- Mix 1 tablespoon of baking soda per cup of warm water in a bowl or basin.
- Submerge the sponge and let it soak for about 15 minutes.
- Rinse thoroughly with clean water and squeeze out excess liquid.
The baking soda not only cleans the sponge but also revitalizes its cellular structure, making it more durable and prolonging its lifespan.
3. Alternative Cleaning Methods
If you prefer, you can use a vinegar solution instead of baking soda to disinfect your sponge:
- Combine 1 tablespoon of vinegar with 1 cup of water.
- Soak the sponge in this mixture for 15 minutes.
- Rinse thoroughly and let it dry completely.
Drying Your Sponge Properly
Proper drying is crucial to prevent mold and bacteria growth:
- After cleaning, squeeze out as much water as possible without twisting, pulling, or wringing the sponge.
- Place it in a well-ventilated area to air dry completely.
- Avoid storing your sponge in a damp environment, such as a closed shower stall, as this can encourage bacterial growth.
Tips to Maximize Your Sponge’s Lifespan
- Rinse thoroughly after each use: Rinsing removes debris and prevents buildup.
- Deep clean every 1-2 weeks: Regular soaks in baking soda or vinegar solutions maintain cleanliness and structure.
- Dry completely between uses: Prevent damp conditions to avoid mold and bacteria.
- Replace when needed: Even with proper care, sponges should be replaced every 3-4 weeks to ensure optimal hygiene and performance.
- Don't scrub too hard as this can tear and damage the sponge's fibers. If you need a bath accessory with more scrubbing power, opt for an Ayate Washcloth, Luffa, or dry brush instead.
By following these steps, your natural bath sponge can remain a luxurious, sustainable, and enjoyable part of your self-care routine for weeks to come!


